Snow Streets
Whilst I have been out with the camera recently, a lot of my spare time has been working on a new book; Snow Streets, which comprises of a small selection of images from 2018 when the Beast from the East hit Glasgow.
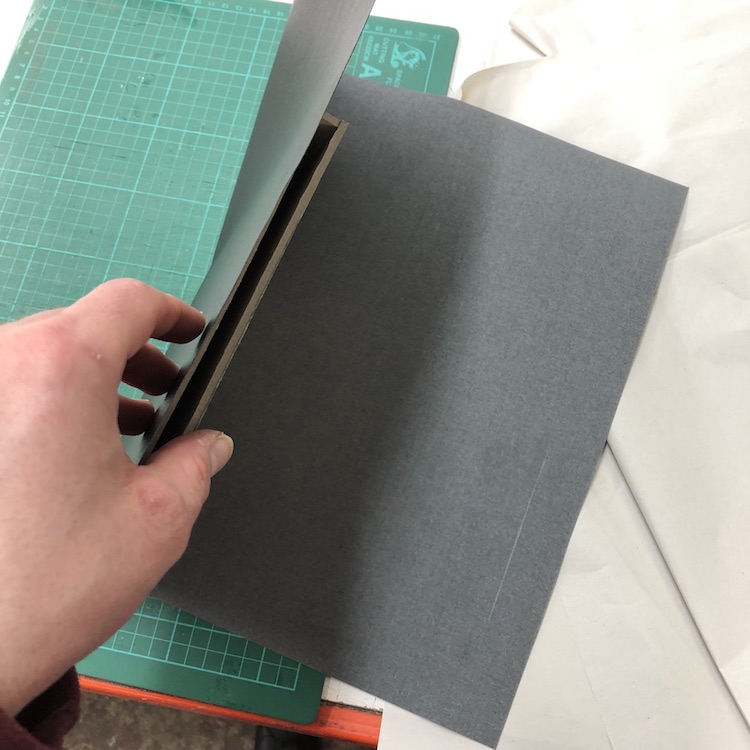
From a personal perspective this book is not as much about the images as it is about the finished product, as it is the first book for which I have made a custom slipcase and I feel this creates a more completed package.
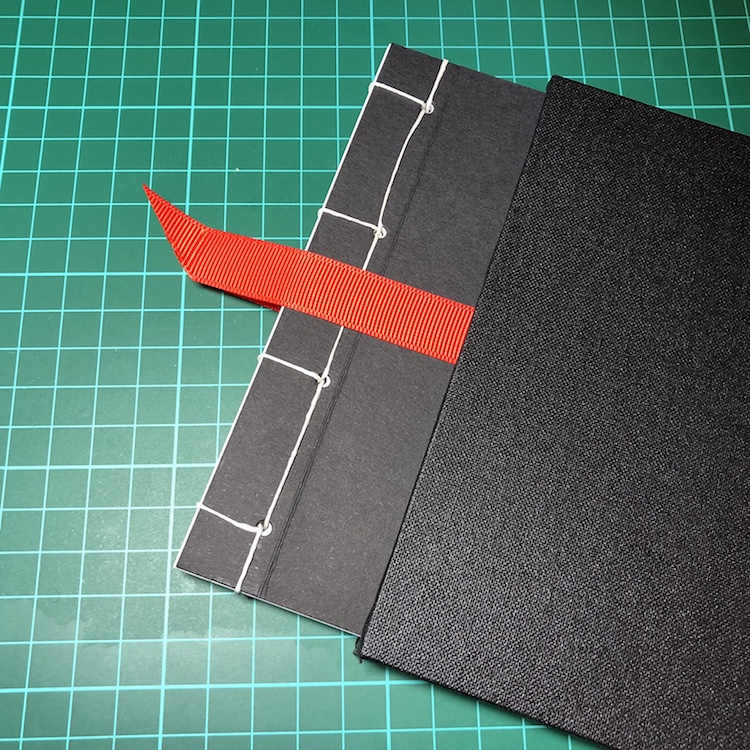
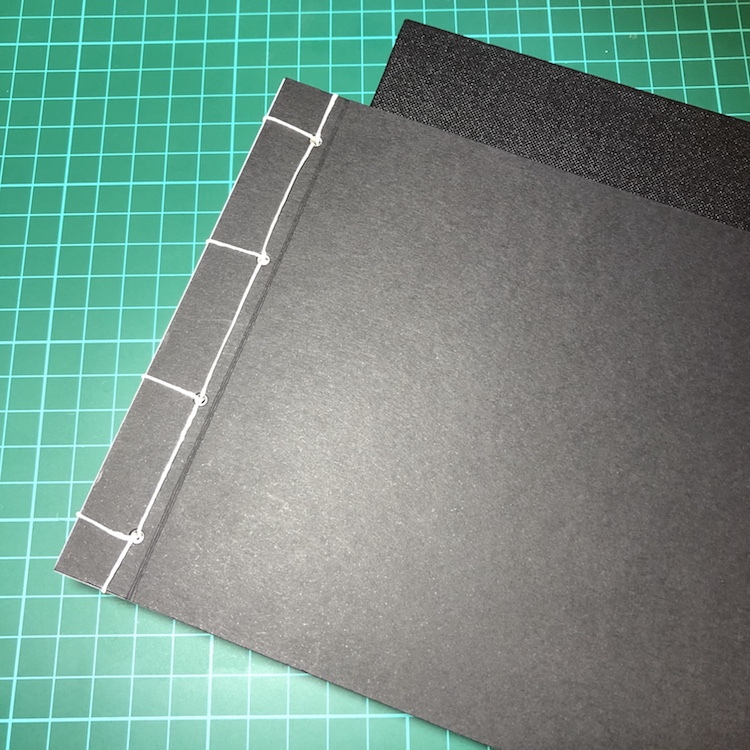
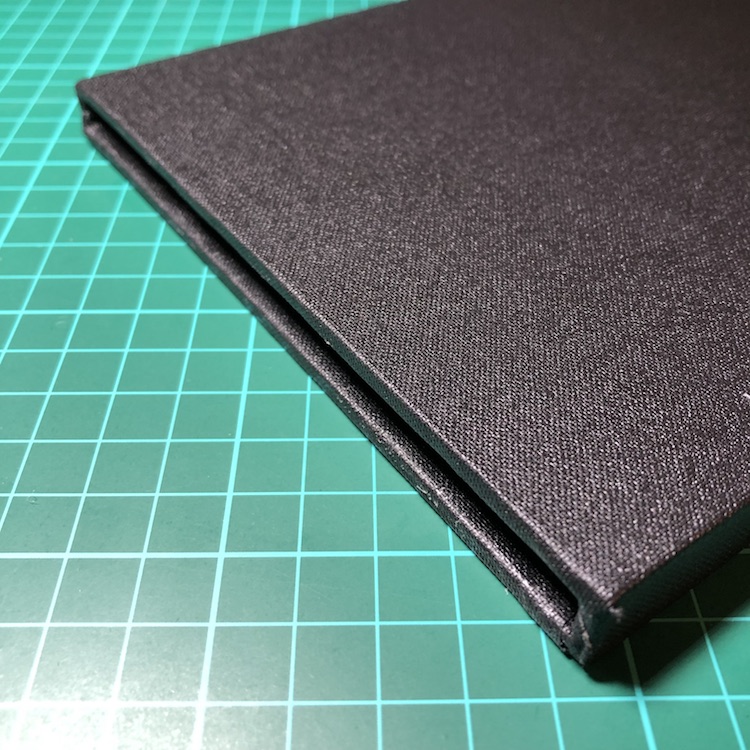
The images below are of the finished book slipcase followed by a page-turning video for anyone who would like to see the book and images in more detail. Following the video I talk a bit about the making of the slipcase!
I have also had a couple of requests for some of these images as prints so there is a small selection available here.

The Slipcase
I have stitched together a number of books and I am now more comfortable with the process, but I am also keen to create a more finished product for my books and introduce boxes, slipcases, etc. To date, I have stayed away from glue and the potential mess and disasters that come with it but to enable me to progress, develop my skills and improve the end result I really need to get stuck in (excuse the pun).
I can’t take all (or much) of the credit for the slipcase as it was made it on a workshop I attended at the weekend. DAD Bookbinders run regular workshops and I have been trying to get on their box making one for over a year, but I finally made it along on Saturday (hence no visit to the Photography Show).
The team at DADs are excellent and they do work for the British Library, House of Lords, Law Society along with libraries around the country. For the slipcase you are invited to take a book along and you make the case to fit it and while most take a book they already own, such as a favourite novel or cookbook, I decided to make one… ‘Snow Streets’.
This gave me an opportunity to print more, a bit more work on sequencing which is a constant learning process and the chance to practice my needlework.
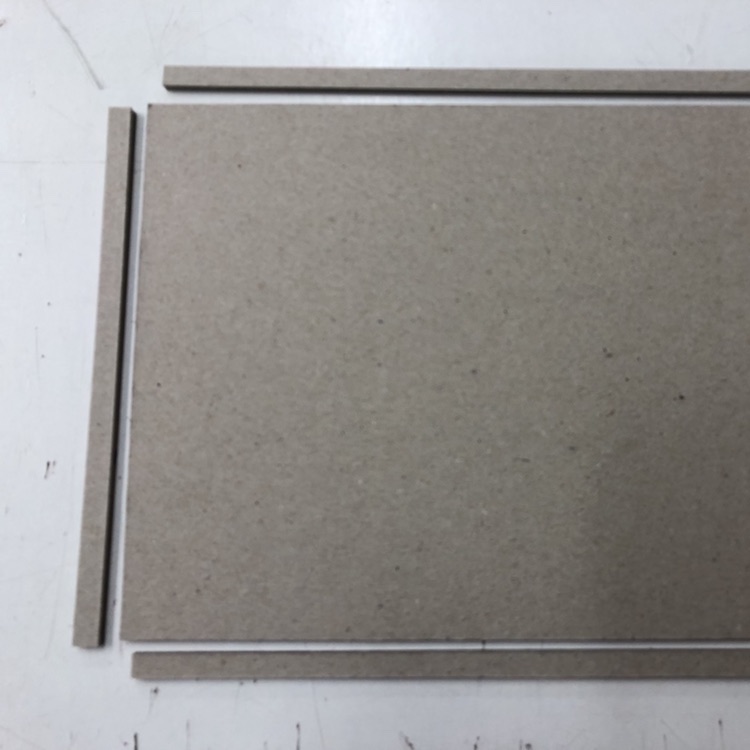
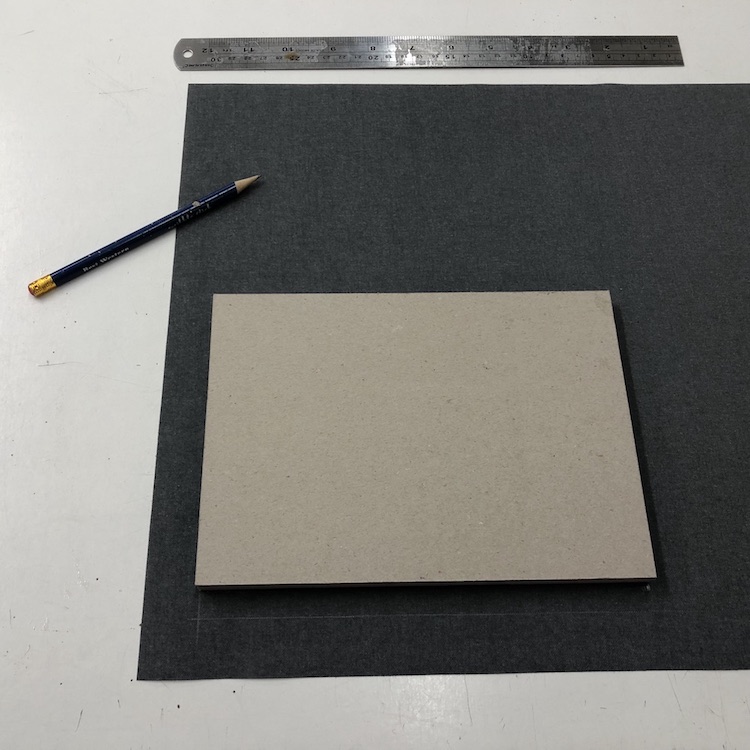
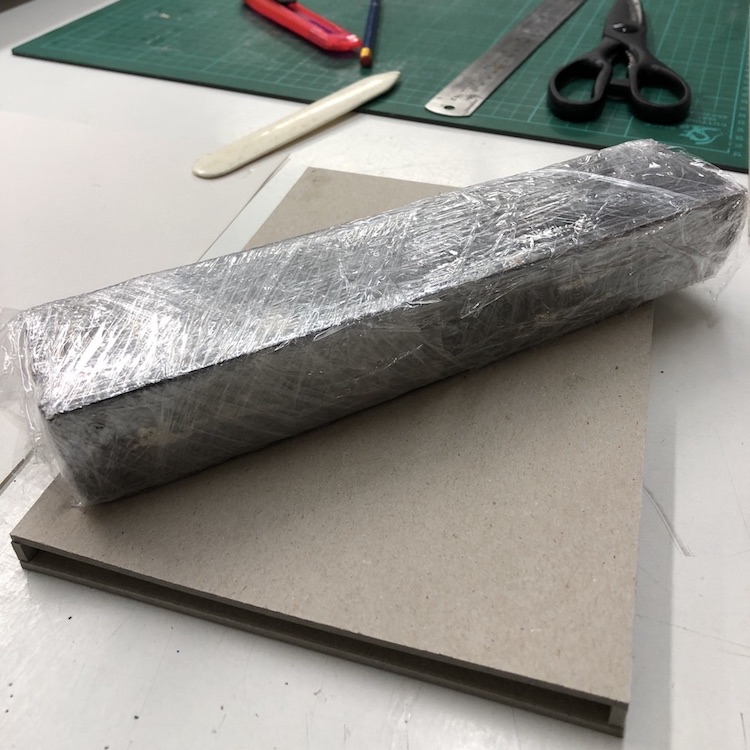
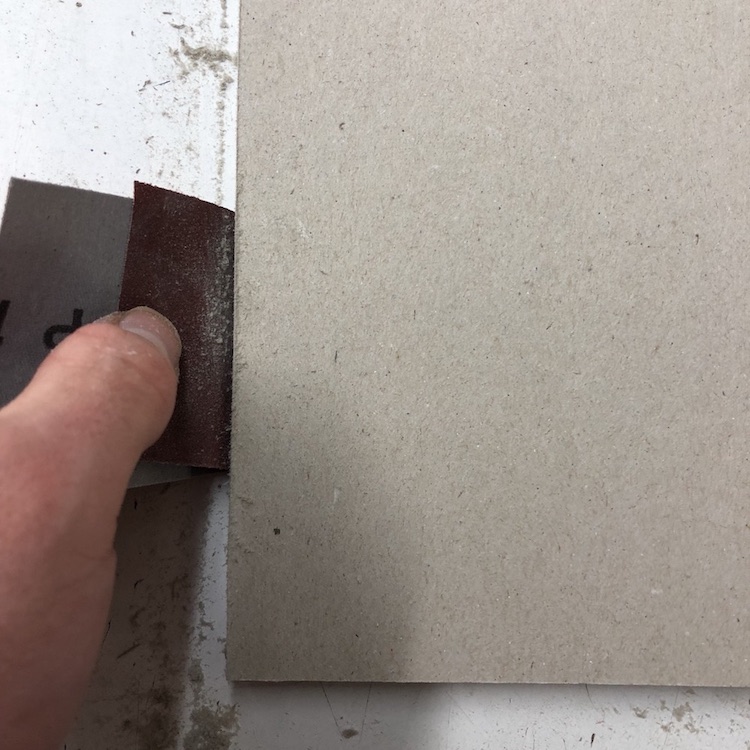
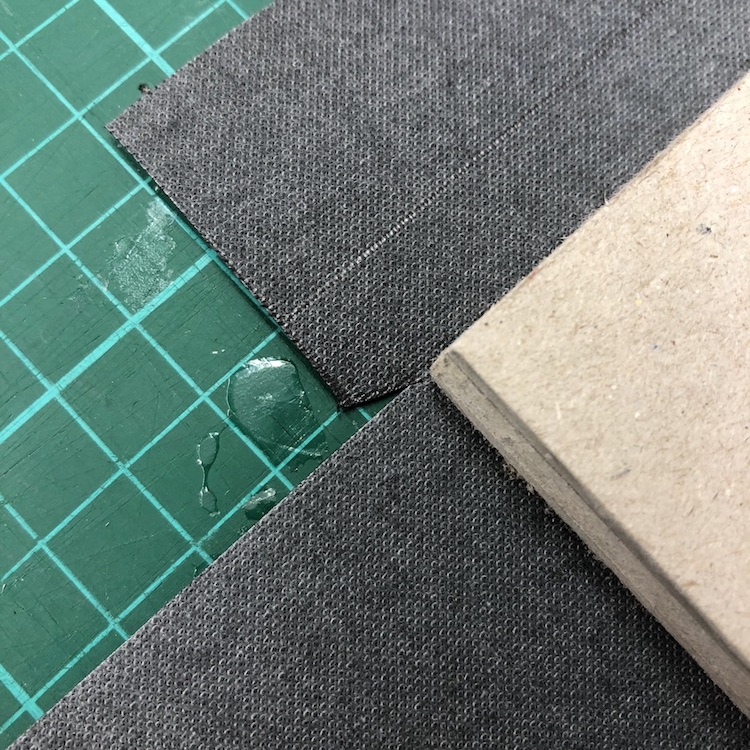
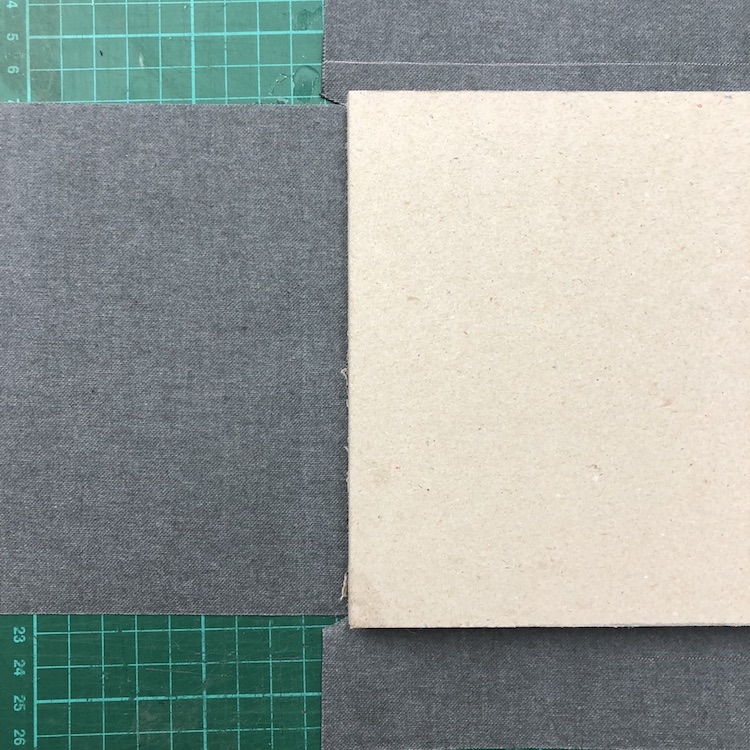
Making the case was relatively straight forward and the image taken during the process help outline the steps involved. It does helps having someone with 30 years knowledge looking over your shoulder. Once the pieces are cut (which they did for us) it was all glued together and left to dry for a short time before sanding down the rough edges so it was smooth on all sides.
The cloth, of which there was a large selection of colours, was cut to size and then trimmed to cover all sides along with the inside lip of the case. Had you wanted the inside lined you this would have been done prior to cutting the board to size.
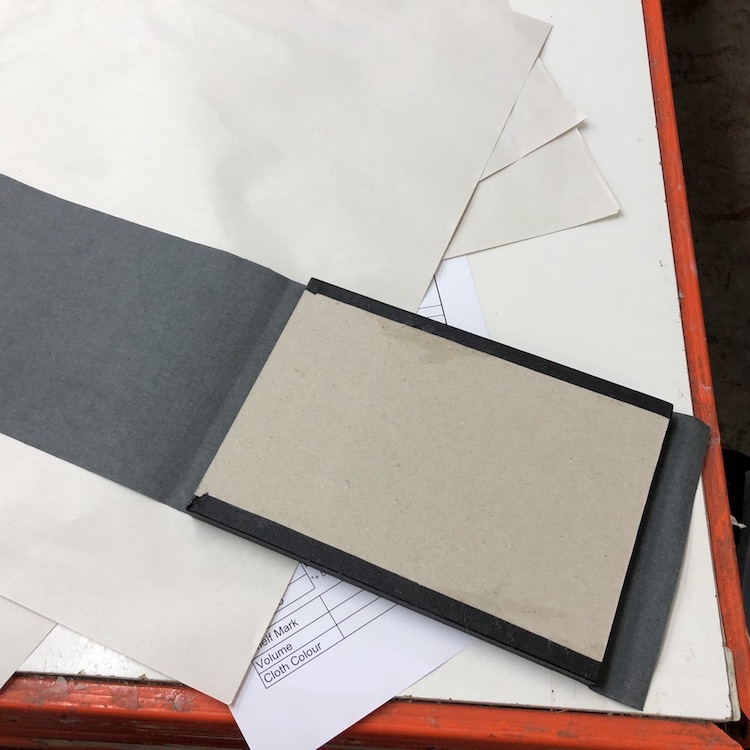
One lesson learnt was that such a small book is tricky to work with, particularly getting the cloth inside the case. It can also be fiddly ensuring it’s neat and tidy at the corners, again given the shallow depth. In hindsight I would also have added a mm or two onto the depth to give a little breathing space for the stitching.
The red ribbon was added when I got home and makes extracting the book from the case much easier. In the future it is something I would look to incorporate within the inside of the case so that it doesn’t actually come out of the book.
Despite those minor points I am pleased with the results of my first slipcase, even though it was made on a workshop. You have to start somewhere and by doing the workshop it has given me the knowledge, and confidence, to move into the world of glue and attempt it at home myself.
One thing for certain is that had my first attempt been by myself, it certainly wouldn’t have turned out as it has!