
Bookmaking
I enjoy printing my work, albeit I don't print enough, partly as I end up with a bundle of prints for which I have no home for and the bundle would just keep on growing.
My plan was to try and learn some bookmaking skills which would enable me to transform the bundles of prints into something tangible that I could change over time.
I had been trying to get on one of Joe Wright's (JW Editions) bookmaking workshops for the best part of 18 months when he announced a two day workshop in Swindon... a 700 mile round trip but one I signed up to immediately.
Day 1
We were only to come prepared with a series (or two) of images printed fairly small which we could use to populate our book(s) with. The focus of the workshop was learning the processes and skills involved in making books and less about the producing a perfect book first time around with images printed onto fine art papers.
The first day began with a introduction to bookmaking, techniques and tools. We talked papers, weights, sizes, styles, finishes, etc and the different tools required for the two styles of books we would be making over the two days. Joe also covered different options of printing from doing it yourself at home to getting pages/books professionally printed if you are planning on bigger print run to a combination of both where the pages are printed commercially but you then hand stitch/bind them.
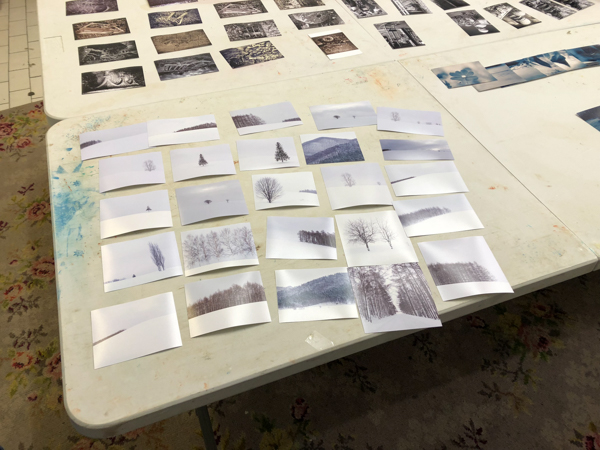
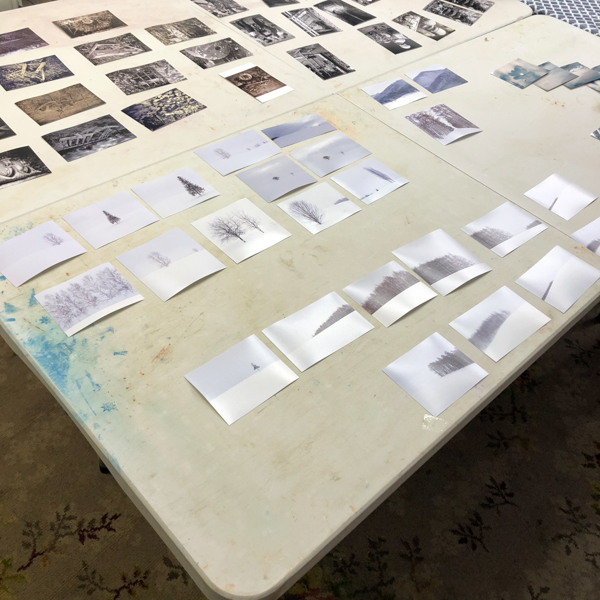
We spent a good amount of time discussing sequencing (see images above) and at this stage we each laid our images out for all to see. As a group we considered which images worked well together and shared a common theme be that subject matter, structure, tones, etc. From identifying the images that would fill the book we then looked at how the group of images would take you from the start to the end of the book.
I found this aspect very interesting and one I would like to pick up again at a future workshop as it's clear to see and understand the impact it can have on a book. I has also made me look differently at images which I may have disregarded when thinking of them as standalone shots, but when viewed as part of a collection of images they work particularly well. The same, but in reverse, can be said about shots which make you go wow... they don't necessarily had a place in a book.
The remainder of the first day was spent producing our own Japanese stab and stitch photobook.
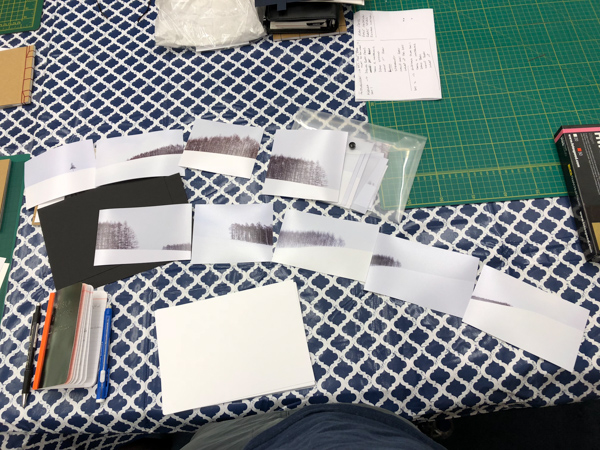
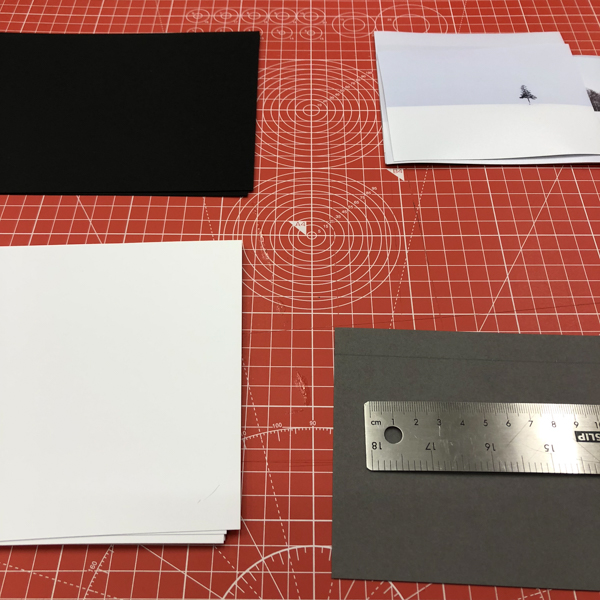
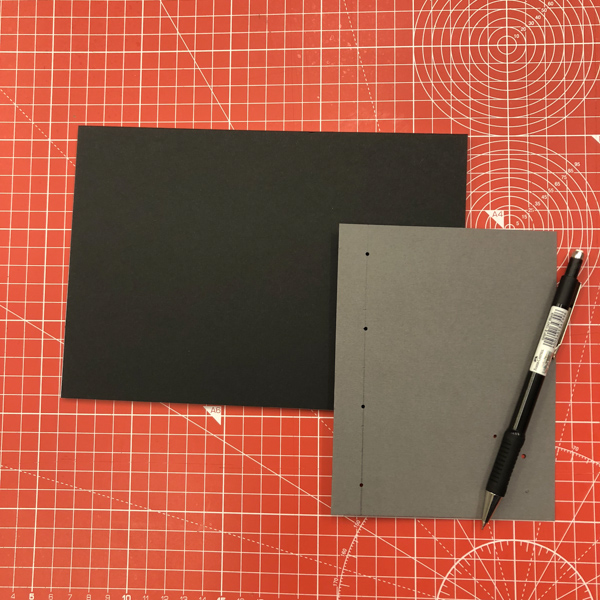
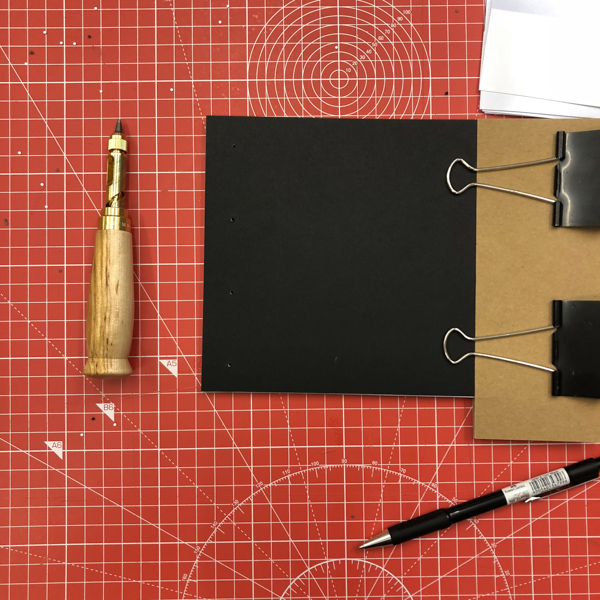
We finalised our image sequence, prepared the paper that would make up the internal pages and selected an appropriate cover. A pattern for the stitching was chosen and marked up on a spare piece of card before creating the holes to enable the book to be stitched together.
The final stage in the process was to add the images and then sit back and admire the finished product... of which I've posted a timelapse video below.
Day 2
Overnight I spent time reviewing the second set of images I had brought with me taking on board the discussions regarding sequencing which resulted in me looking at my images very differently - thinking about the overall sequence but also smaller groupings within the book.
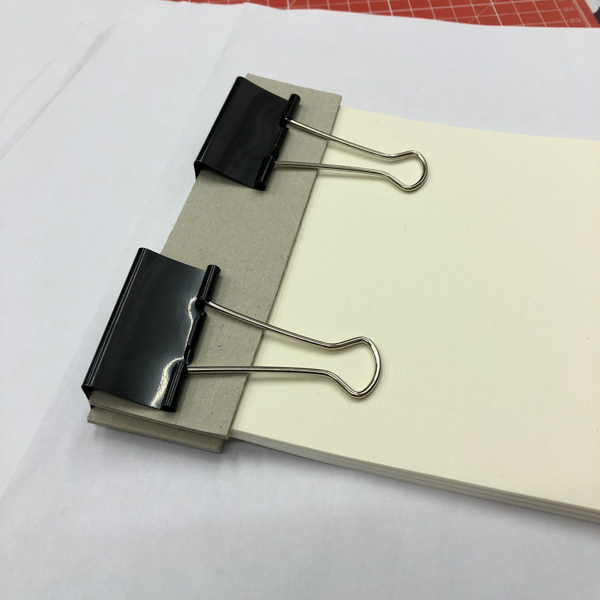
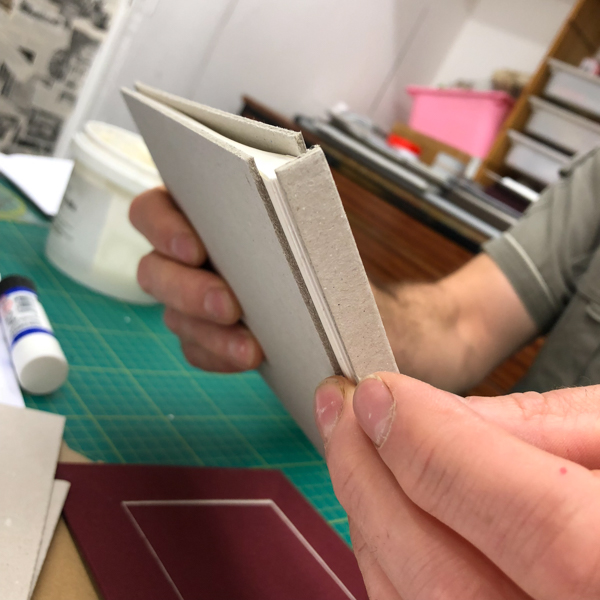
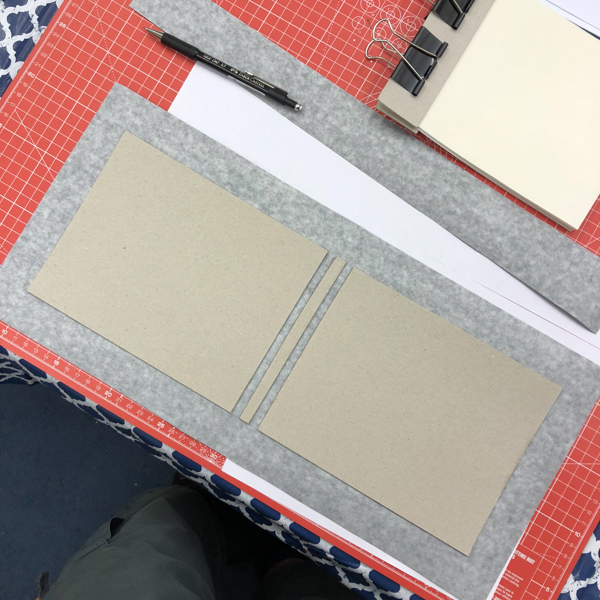
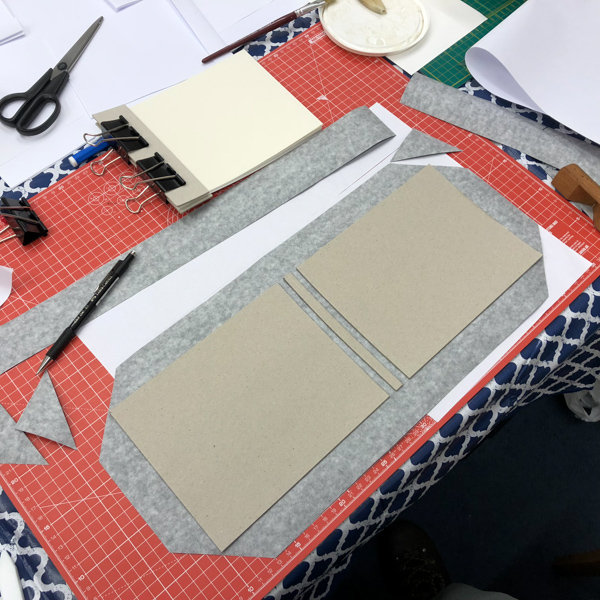
Day 2 was all about hardback books and Joe started off the day by giving a demonstration from start to finish of all the stages that we would go through... cutting the paper, creasing, gluing, cutting the cover, clothing it and finally sticking it all together. We were expected to do this in under 5 hours. From scratch.
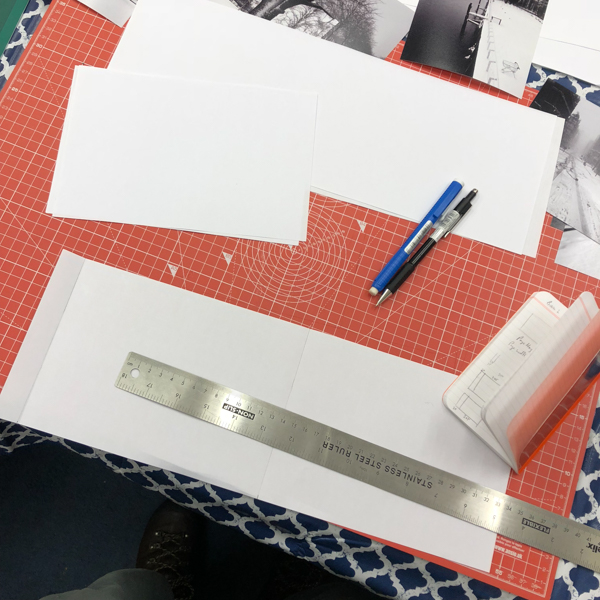
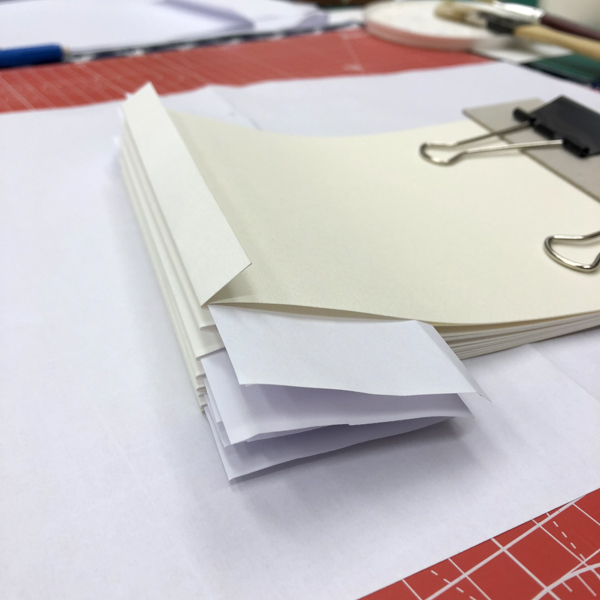
The first stage was to finalise the sequence of images which determined how many pages would be needed. I had included three foldout pages which added a further dimension to the book but I felt the images I had selected worked well in this format. Pushing the boundaries with a little bit of complexity at a workshop is the best place to do it instead of at home where I would be relying on myself to spot any mistakes.
It's fair to say it was nerve-wracking at times, primarily when it involved cutting or glueing something and there was the fear if you did it the wrong way then your book might not open, but Joe was always on hand to guide us in the right direction and ensure no mishaps were likely to happen.
Doing the same process at home you would allow the different stages (internal pages, cover, etc) time to properly dry but given the time pressures we were under 10/15 minutes was the maximum available.
However, by the end of the day I had indeed made a hardback book from scratch, and one I was pretty pleased with. As with the day 1 book there is a time-lapse below.
The Results
At the end of the two days I came away with two books.
The Japanese stab and stitch book made on day 1 features images from a days photography in Hokkaido and the hardback book produced on day 2 features images taken in Glasgow City Centre when the Beast from the East struck in March of this year.
What's Next?
I don't plan on stopping there and whilst I have already acquired the necessary tools to make the stab and stitch style books I've yet to find the time to actually make any.
I very much see photobooks as an output for my work. I think bookmaking will encourage me to print more of my work as I can see something at the end of the process that is not not just another 'print' lying around which will rarely be looked at.
Finally I would like to extend my thanks to Joe for his time and expertise over the weekend. It was an excellent workshop (I wouldn't change a thing), his knowledge and passion for photobooks shines through and I very much see myself signing up to one of his workshops in the future... in Swindon or Scotland.